15 Best Shoulder Exercises to Enhance Your Strength, Muscle and Fitness
These shoulder exercises will help you build shoulder strength and mobility in a multitude of different ways. This article contains a selection of the best compound, isolation and full body exercises drawn from the disciplines of bodybuilding, functional fitness, strong(wo)man training and Olympic weightlifting. Whatever your goal, we have what you need.
Each shoulder exercise shows the benefits that it brings and exactly how to perform the technique properly. There are many additional training tips to help you add it each one effectively into your training and workouts.
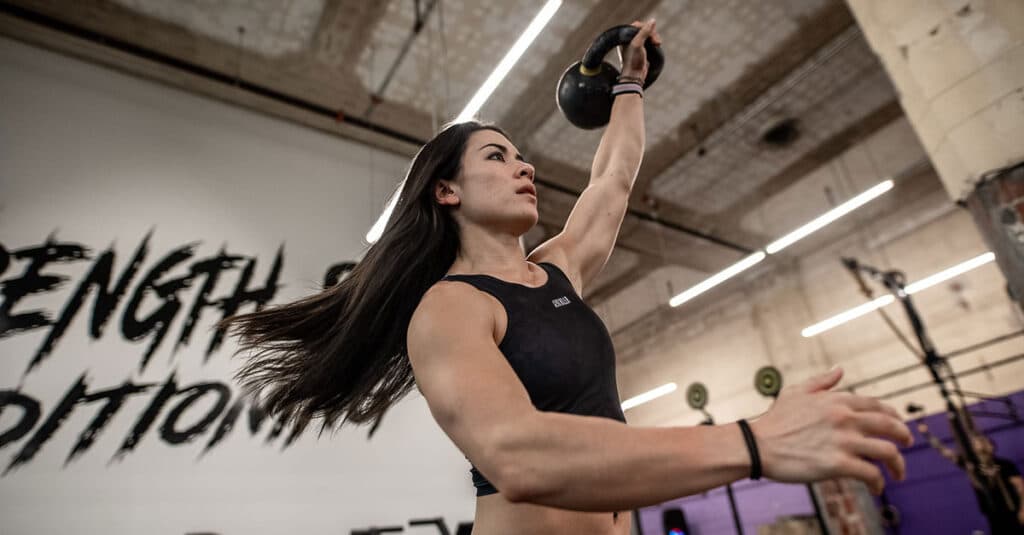
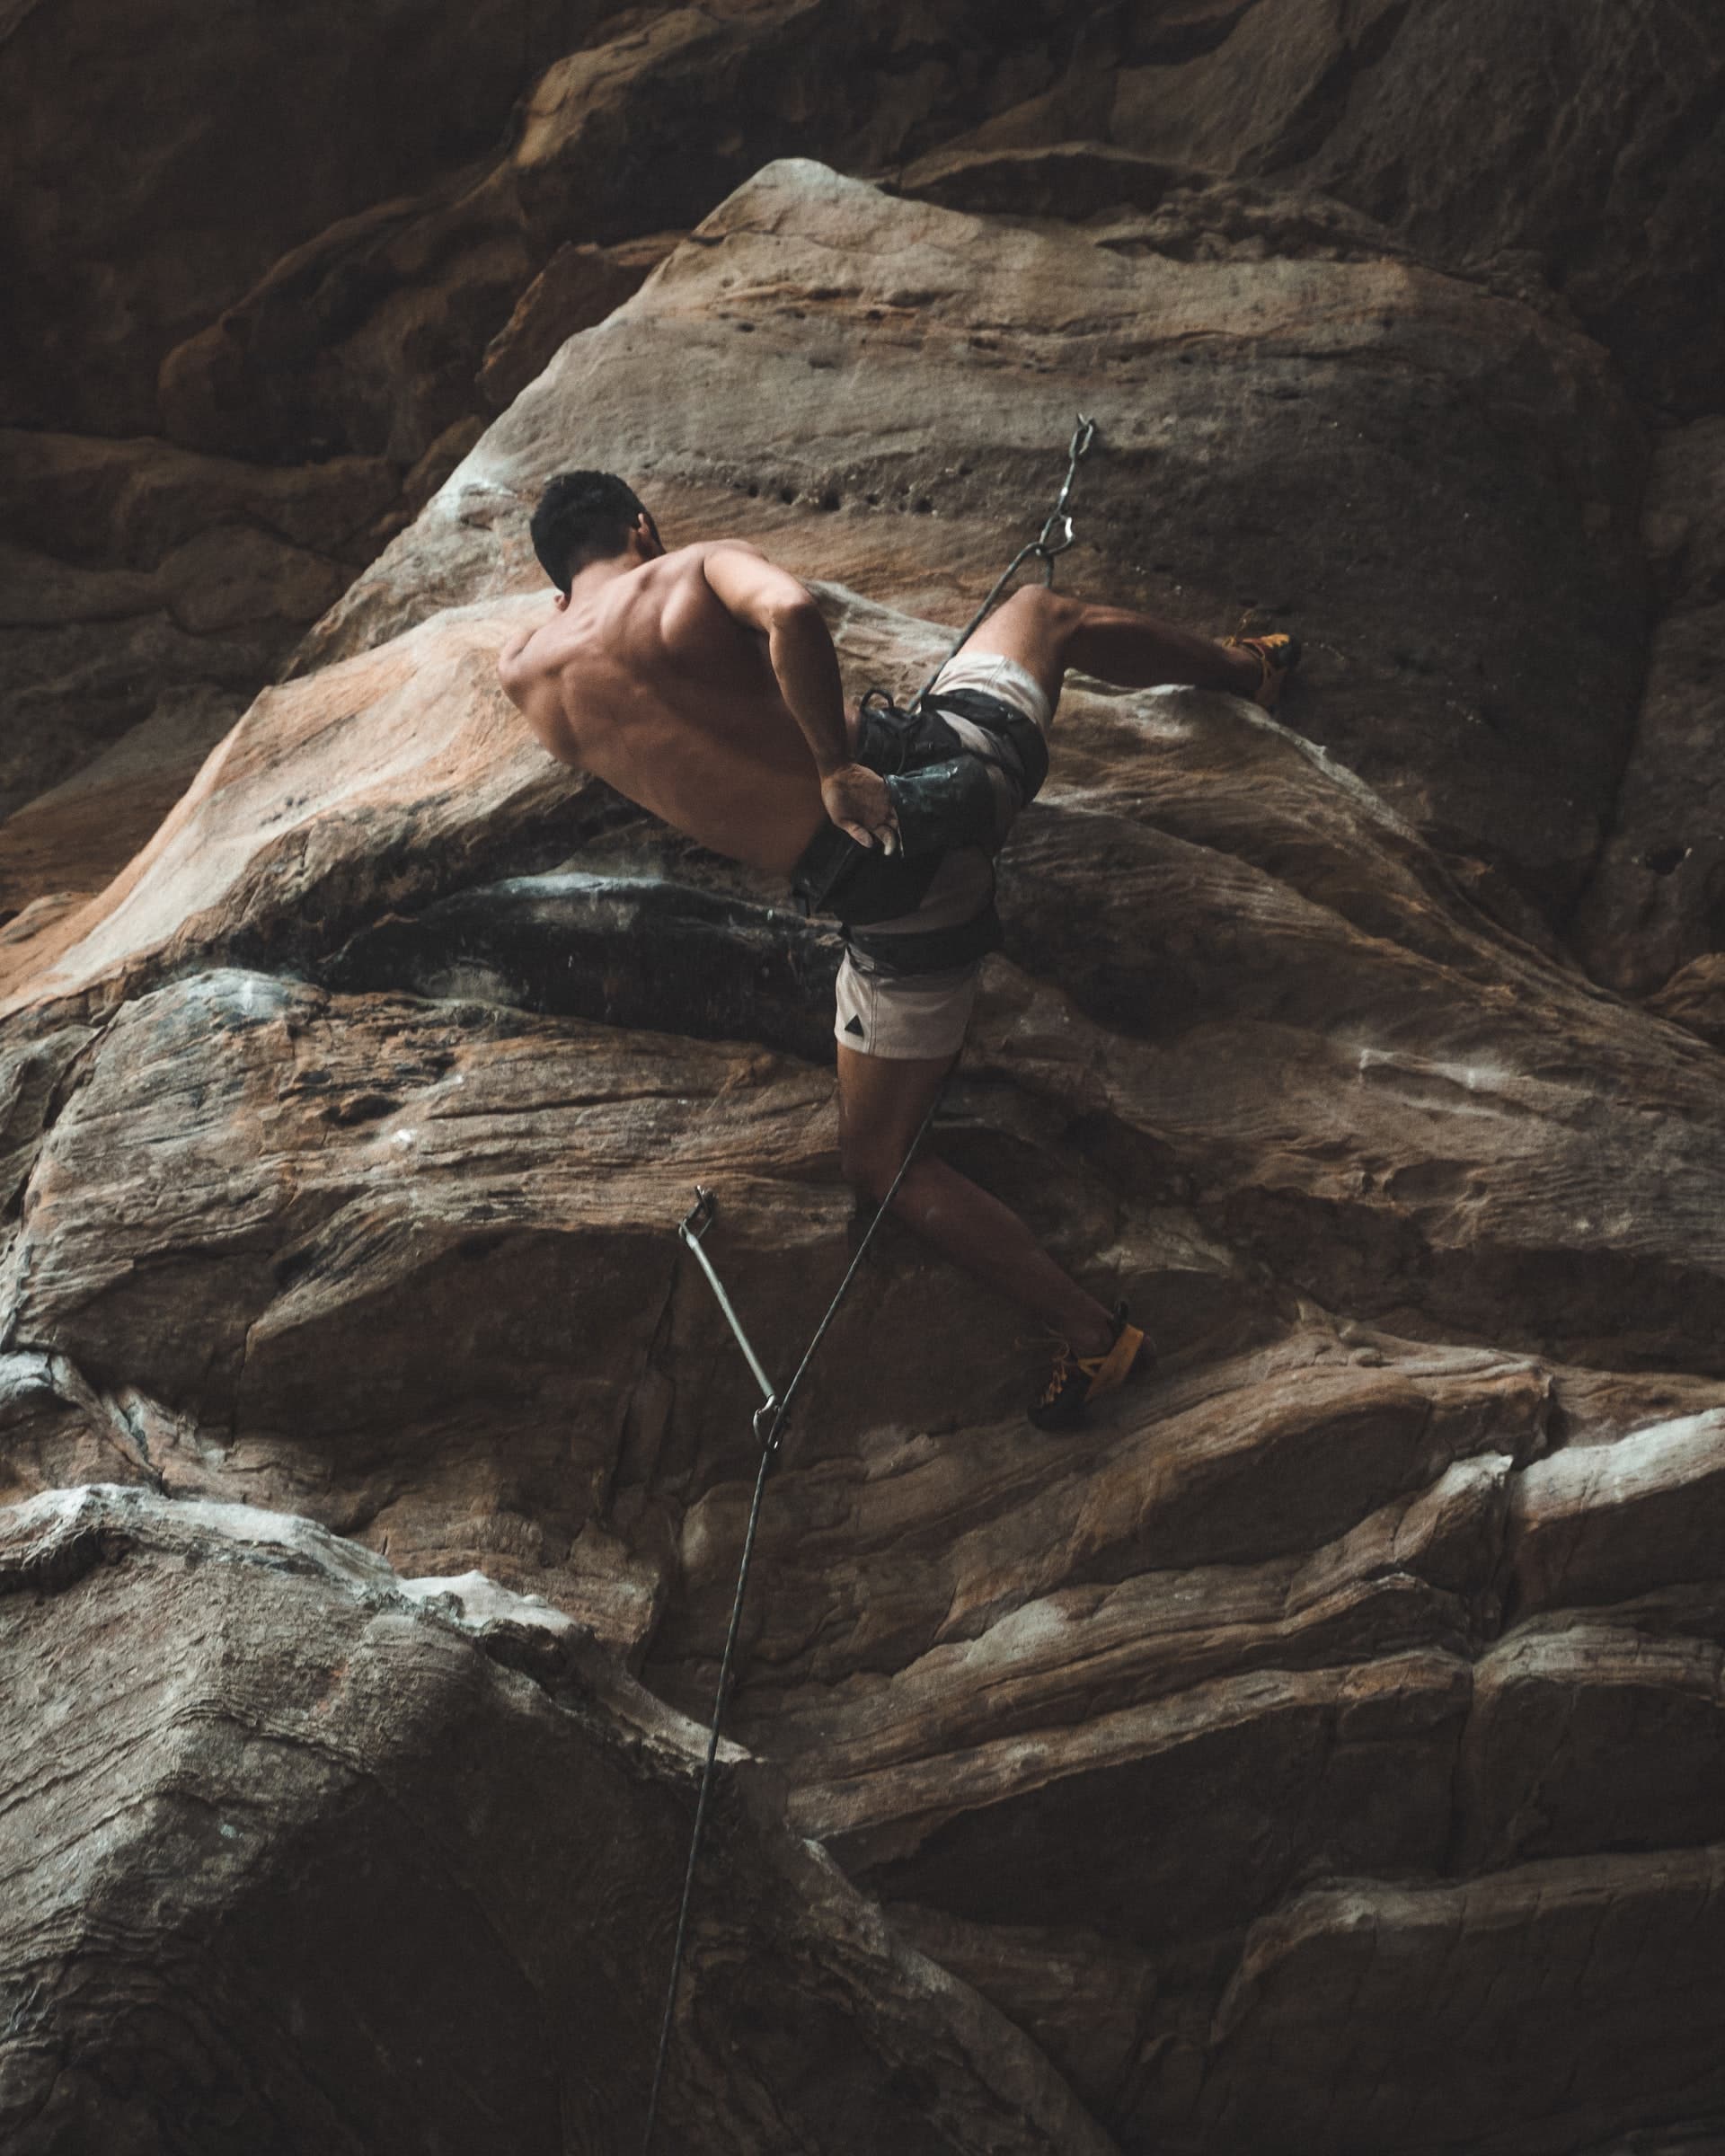
There are many outdoor fitness activities that require and develop excellent functional shoulder strength such as rock climbing, kayaking and swimming. Combining specific shoulder training or shoulder workouts with these activities is a great way to build effective strength, mobility and health that will last a lifetime.
- UNDERSTANDING THE SHOULDER
- SHOULDER EXERCISES
- 1. OVERHEAD PRESS
- 2. SEATED DUMBBELL SHOULDER PRESS
- 3. ARNOLD PRESS
- 4. DUMBBELL LATERAL RAISE
- 5. BENT-OVER DUMBBELL LATERAL RAISE
- 6. DUMBBELL FRONT RAISE
- 7. SHOULDER EXERCISES – UPRIGHT ROW
- 8. SOTTS PRESS
- 9. Z PRESS
- 10. PUSH PRESS
- 11. SHOULDER EXERCISES – DEVIL PRESS
- 12. SINGLE ARM OVERHEAD DUMBBELL SQUAT
- 13. SHOULDER EXERCISES – HANDSTAND PUSH UPS
- 14. SHOULDER EXERCISES – REVERSE MACHINE FLYES
- 15. REVERSE CABLE CROSSOVER
- SHOULDER EXERCISES
UNDERSTANDING THE SHOULDER
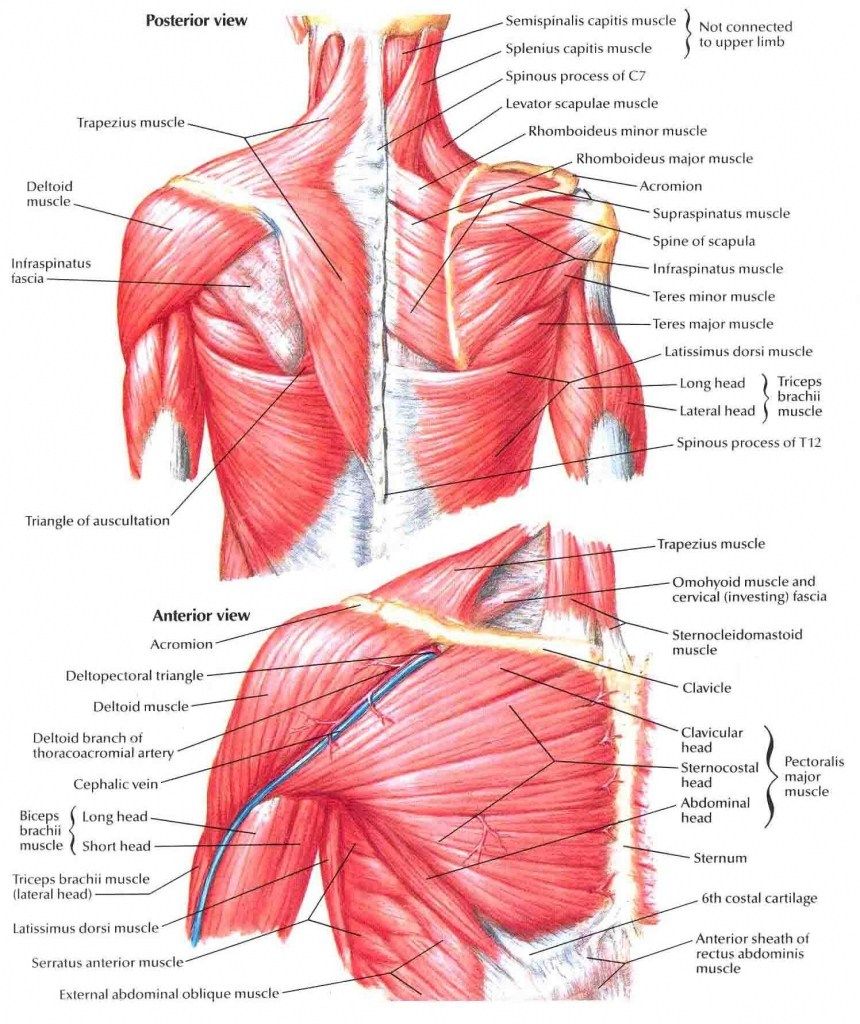
Intrinsic Shoulder Muscles – Deltoids
Named for the Greek letter delta, this triangle-shaped muscle is located at the top of the shoulder. It breaks down into three main muscle fibres: anterior, middle, and posterior, which are all connected by way of a thick tendon.
The fact that shoulder exercises are more or less synonymous with working out your “delts” shows how important this muscle group actually is. Accordingly, your delts provide a foundation for arm rotation and injury prevention.
Teres Major
This small muscle runs from under the shoulder joint through to the back of the armpit.
Rotator Cuff
Rotator cuff muscles and ligaments surround the shoulder joint and hold the bones in place. It is vital for performing all shoulder exercises.
Extrinsic Shoulder Muscles – Trapezius
Shaped like a triangle (hence the name), this muscle runs down the spine and across the shoulder blade. It supports your arm and shoulder when you raise it. You have a trapezius muscle on both your left and right side.
Latissimus Dorsi
More commonly known as the lats, these muscles help with the extension and internal rotation of each arm.
Levator Scapulae
As its name suggests, the levator scapulae muscle helps lift and move the scapula bone (shoulder bone), which connects the humerus (upper arm bone) and clavicle (collarbone).
Rhomboids
These rhombus-shaped muscles are primarily responsible for the retraction of the scapula.
They’re located in the middle of your shoulder blades on your upper back. They are divided between left and right.
SHOULDER EXERCISES
Add the following shoulder exercises into your training.
1. OVERHEAD PRESS
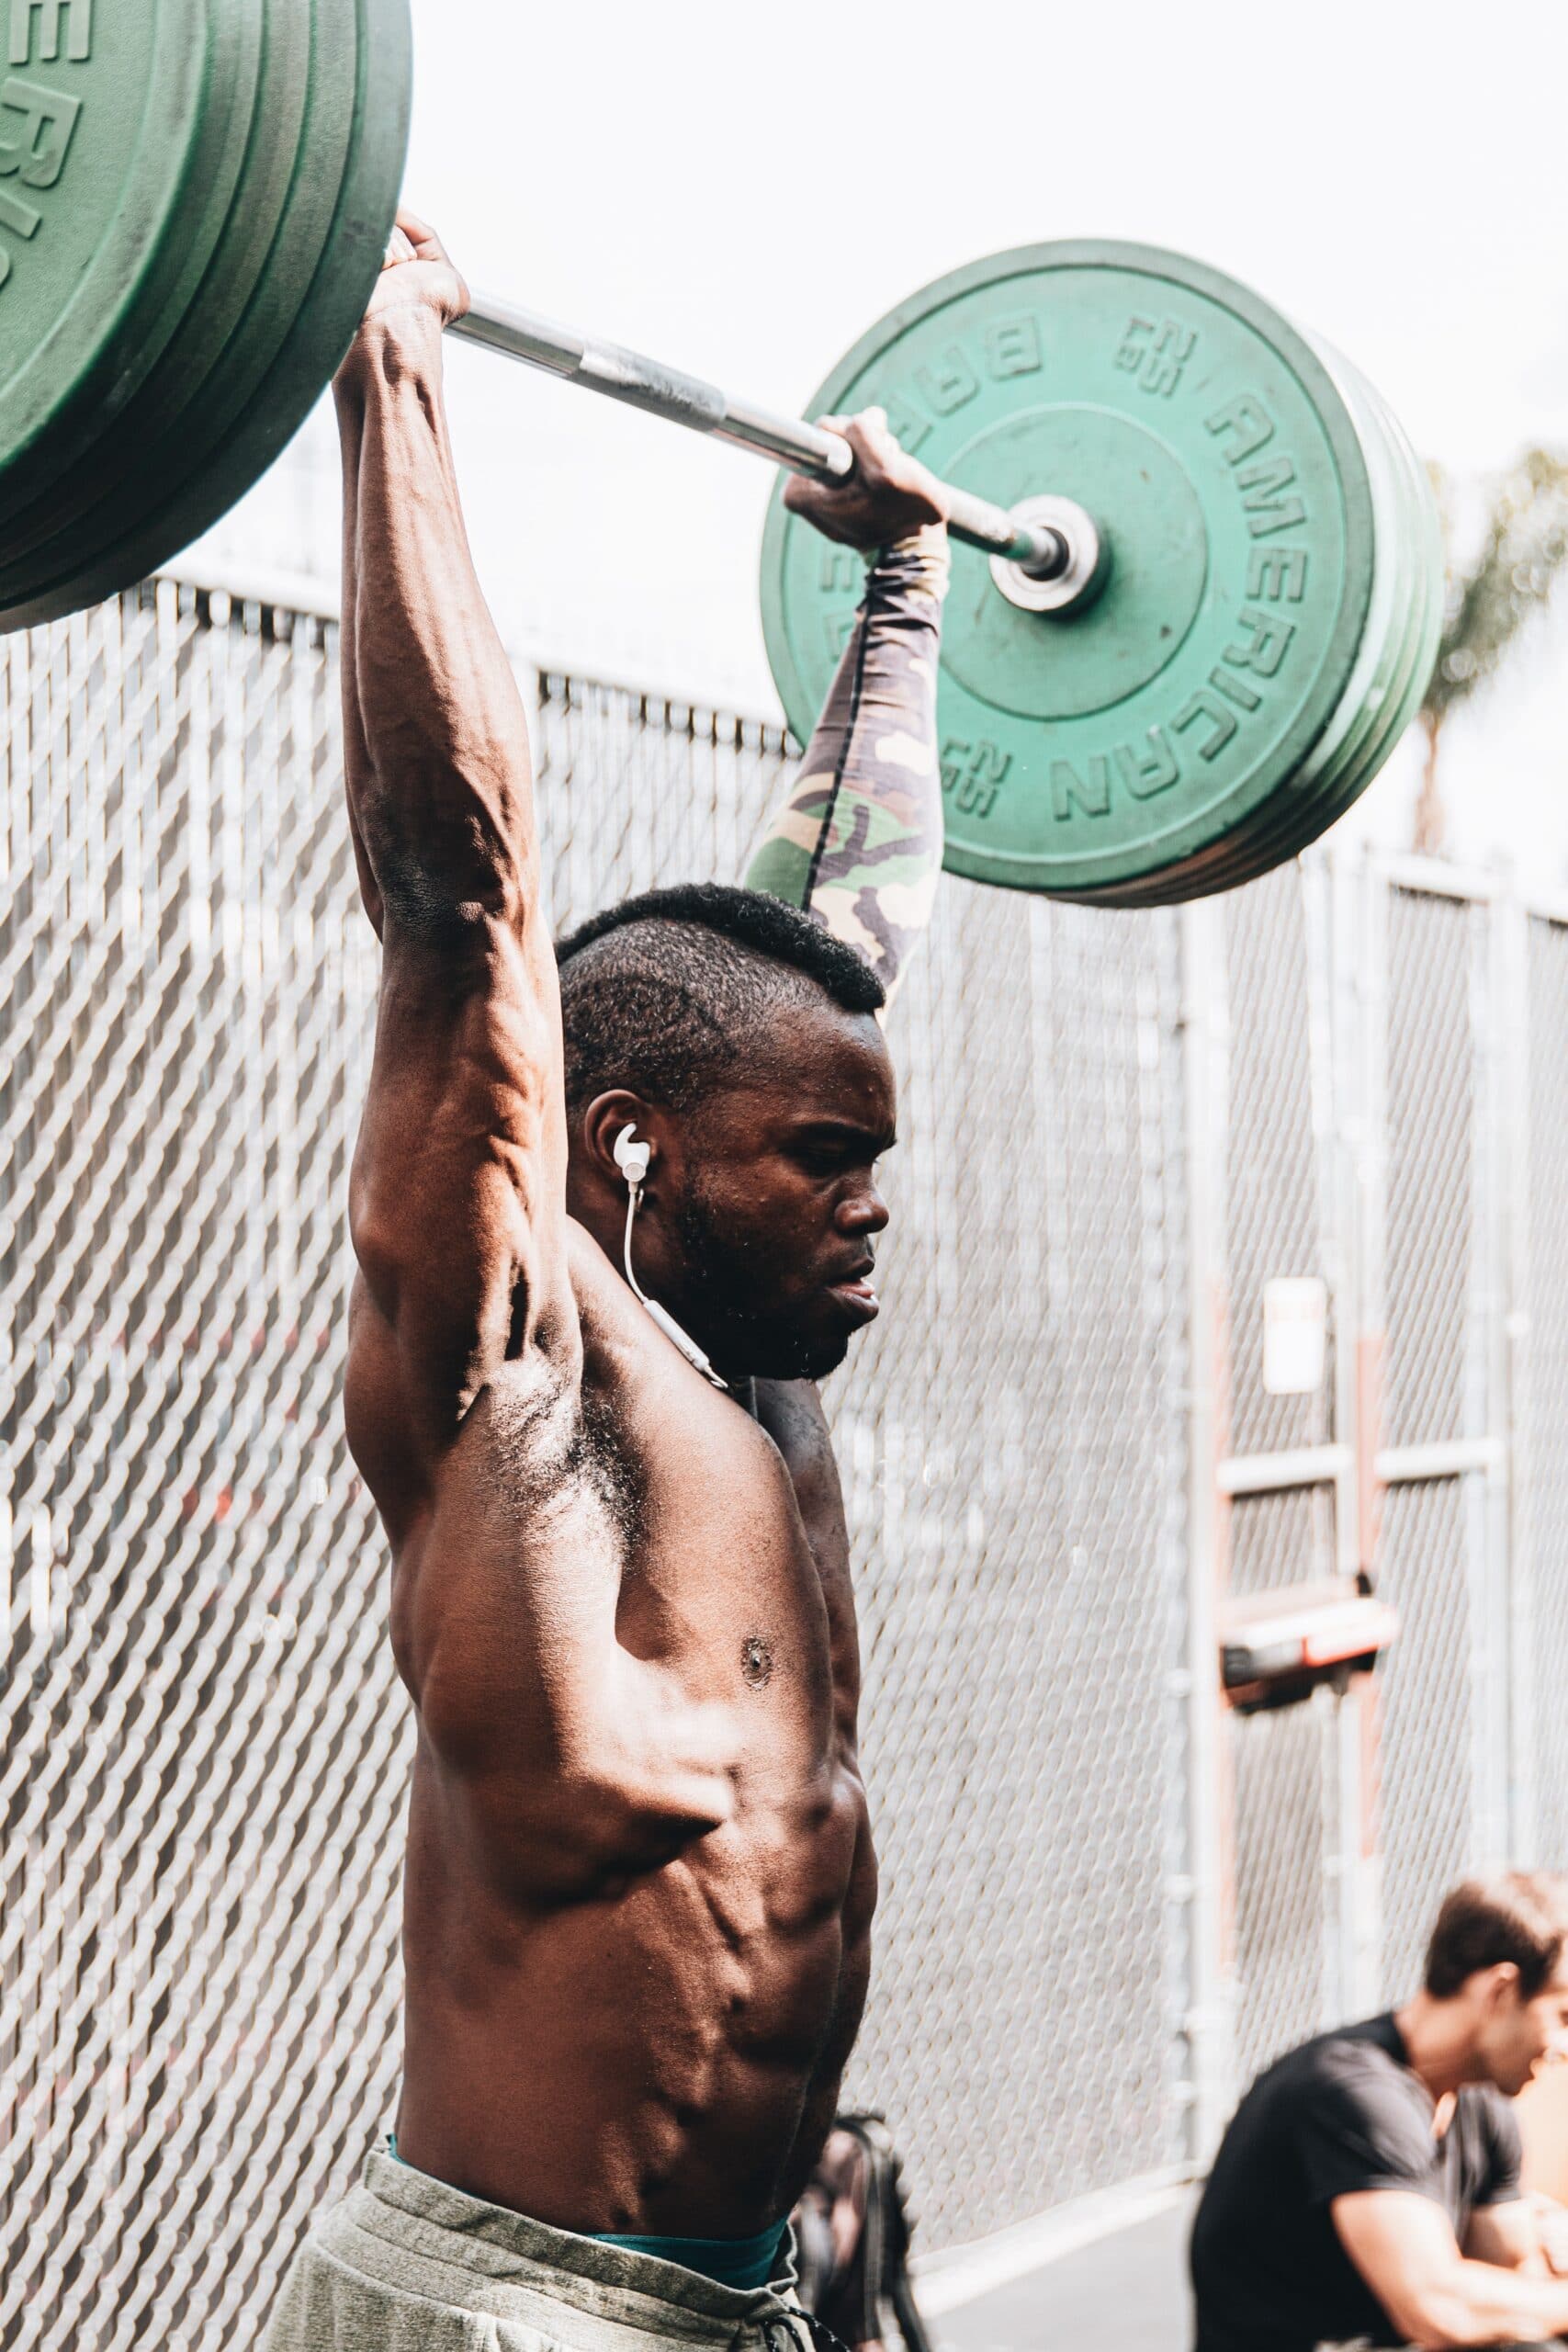
The overhead press is the definitive compound shoulder exercise. It is also known as the military press or the strict press.
Benefits of The Overhead Press
The overhead press is a full body compound exercise. Your shoulders and arms press the weight over your head while your legs, lower back and core maintain balance. The overhead press is one of the best exercises to build strong, muscular and healthy shoulders and bigger arms.
To avoid shoulder pain, overhead press with a narrow grip so you don’t flare your elbows.
Make sure to shrug your shoulders at the top in order to reach the full range of motion. Press the bar over your head, lock your elbows and shrug your shoulders towards the ceiling. This will also engage your traps and prevents shoulder impingement.
How to do the Overhead Press
- Setup: Stand with the bar resting in the front rack position, on the front of your shoulders. Narrow grip, straight wrists, vertical forearms. Lock your knees and hips
- Lift Your Chest: Raise your chest towards the ceiling by arching your upper-back. Try to touch your chin with your upper-chest
- Press: Take a big breath, hold it and press the bar in a vertical line. Don’t press it in front of or behind your head. Press it over your head
- Move Forward: Stay close to the bar while you press the weight up past your face. Shift your torso forward once the bar has passed your forehead and punch your head through the hole between your arms
- Lockout: Hold the bar over your shoulders and mid-foot for proper balance. Lock your elbows. Shrug your shoulders to the ceiling
- Return the bar to the front rack position
Training Tips for the Overhead Press
Don’t bend your legs. This takes work away from your shoulder muscles by using your stronger leg muscles. Keep your hips and knees locked from start to finish. If you can’t, the weight is too heavy. Lower it so your shoulders do most of the work when you overhead press.
As shoulder exercises go, if you have to choose one, pick the Overhead Press.
2. SEATED DUMBBELL SHOULDER PRESS
Benefits of The Seated Dumbbell Shoulder Press
The dumbbell shoulder press is a movement similar to the overhead press (barbell) that can produce significant muscle growth and strength development of the shoulders, triceps, and upper chest.
Depending on the grips used, angles, and variations of the shoulder press, certain aspects of the anterior, posterior, and overall shoulder region can be focused upon. Below are some of the main muscle groups targeted by the shoulder press:
• Deltoids (posterior, medial, and anterior shoulder)
• Triceps
• Traps
• Upper Chest
How to do The Seated Dumbbell Press
- Holding a pair of dumbbells, sit up straight on a bench or chair, preferably one that supports your back
- Raise the dumbbells one at a time to each side, and hold them at shoulder height, with your palms facing each other
- Take a deep breath, brace your body then press the dumbbells upward
- At the top of the movement, shrug your shoulders to raise the dumbbells even higher and achieve full range of motion
- Reverse the movement and lower the dumbbells to the starting position
- Repeat
Training Tips for The Seated Dumbbell Press
• Keep your back straight
• For optimal back support, make sure your lower back is in constant contact with the back of the chair
• Do not lock your elbows out at the top of the press. This will safeguard your elbows as well as keep the tension on your shoulders
• The seated position reduces your ability to cheat
• Occasionally, perform the seated dumbbell overhead press with one arm at a time, as it will get more core stabilizer muscles involved and help you to develop unilateral strength
3. ARNOLD PRESS
The Arnold press is an excellent pressing exercise designed by bodybuilding legend Arnold Schwarzenegger. It involves rotational movement and will stress your body in new ways in order to stimulate strength and muscle development.
Benefits of the Arnold Press
• Great for adding mass to the shoulders
• Hits multiple shoulder heads at once (front delt, side delt and rear delt)
• Allows for a more time-efficient shoulder workout
• The Arnold press also helps improve your posture, keeps your muscles under tension longer than traditional presses
How to do the Arnold Press
- Sit on a chair or bench, preferably one with a back support, with a dumbbell on each knee
- Position the dumbbells in front of your shoulders in the front rack position, with your palms facing you and your elbows close to your body
- Inhale, brace your core then press the dumbbells upward and rotate your wrists so that your palms face forward at the top of the movement.
- Exhale at the top portion of the movement
- Lower the dumbbells and rotate your palms so that they face you again at the bottom of the movement
- Repeat
Training Tips for the Arnold Press
Keep your back straight and body still.
Once you get the hang of the Arnold press as described above, try the following: Allow your arms to move out as they ascend and then move back in at the top of the movement.
This combines the movements of the lateral raise and shoulder press to produce a fluid motion that minimizes the amount of twisting you have to do with your wrists and keeps all of the movement in your shoulders.
4. DUMBBELL LATERAL RAISE
Benefits of the Dumbbell Lateral Raise
This exercise primarily targets the lateral deltoid. It it also works the anterior deltoid, supraspinatus, middle and lower trapezius and serratus anterior. The dumbbell lateral raise will develop broad, rounded and muscular shoulders.
How to do the Dumbbell Lateral Raise
- Stand holding a dumbbell in each hand, with the dumbbells hanging down by your sides
- Bend forward slightly at the hips
- Eternally rotate your shoulders so that your thumbs point out diagonally.
- Inhale and brace your core, glutes and grip the dumbbells tightly
- Keeping your elbows slightly bent, exhale as you raise both upper arms out to the sides until your elbows are level with your shoulders
- Hold for a count of two seconds
- Lower the dumbbells to the starting position
- Repeat for the recommended number of repetitions
Training Tips for the Dumbbell Lateral Raise
- Keep the spine straight, in a neutral position. Don’t round or hyperextend your posture
- Keep your body still; only your arms should move
- Do not swing the dumbbells or let them drop down by your sides. Maintain control of the weights at all times
- Perform the dumbbell lateral raise one arm at a time to get more stabilizer muscles in your core involved and help you to develop unilateral upper-body strength.
5. BENT-OVER DUMBBELL LATERAL RAISE
The dumbbell bent-over lateral raise is also known as the dumbbell rear lateral raise. It will also develop and strengthen your back.
Benefits of the Bent-Over Dumbbell Lateral Raise
The dumbbell bent-over lateral raise targets the posterior deltoid, lateral deltoid, middle and lower trapezius, infraspinatus, teres minor and rhomboids.
How to do the Bent-Over Dumbbell Lateral Raise
- Holding a dumbbell in each hand, bend at the hips and knees until your torso is parallel to the floor. Your back should be straight and your arms should be hanging in front of you, with your palms facing inwards (neutral grip)
- Keeping your elbows slightly bent, raise both arms out to the sides until the dumbbells are level with the height of your shoulders
- Hold for a count of two seconds
- Lower the dumbbells to the starting position in a controlled manner
- Repeat for the desired number of repetitions
Training Tips for the Bent-Over Dumbbell Lateral Raise
- Do not swing the dumbbells upward
- Try to resist the lowering of the dumbbells in order to maximise the benefits of the movement
- Keep your back straight and your body still
- You will not target your posterior deltoids unless your torso is horizontal
- Keep your upper arms perpendicular to your torso to minimize the involvement of your lats
6. DUMBBELL FRONT RAISE
Benefits of the Dumbbell Front Raise
The dumbbell front raise targets the anterior deltoid. It also works the lateral deltoid, clavicular (upper) pectoralis major, middle and lower trapezius and serratus anterior.
How to do the Dumbbell Front Raise
- Stand holding a dumbbell in each hand, with your elbows slightly bent and the dumbbells resting on the front of your thighs
- Keeping your elbow slightly bent, exhale as you raise your right arm in front of you until it is at least parallel to the floor
- Hold for a count of two
- Inhale as you lower your right arm to the starting position
- Repeat with your left arm
- Keep alternating your arms, raising one after the other one has been fully lowered
Training Tips for the Dumbbell Front Raise
- Keep your back straight and body still. Do not sway back and forth.
- You may use either a pronated (overhand) grip, as described, or a neutral (hammer) grip. You may also complete all of the reps for the first arm before moving on to the reps for the opposite arm.
- Do not swing the dumbbells. Keep the movement under control.
- Try to resist the lowering of the dumbbells.
Variations of the Dumbbell Front Raise
The alternating dumbbell front raise can be changed into a unilateral exercise by simply raising and lowering each arm one at a time. Unilateral training (training one side at a time) has great benefits.
Working with the unilateral version of this exercise will give you a better core workout because more stabilizer muscles will be recruited to stabilise your body.
However, this does not mean that you should only perform the unilateral version of this exercise. For best results, incorporate both unilateral and bilateral training into your program.
7. SHOULDER EXERCISES – UPRIGHT ROW
Benefits of the Upright Row
The upright row exercises and improves the front and middle heads of the deltoids, as well as the trapezius, rhomboids, and even the biceps muscles. Using higher rep sets this exercise can also enhance grip strength.
How to do the Upright Row
- Find a comfortable stance with your legs shoulder width apart
- Deadlift the barbell or dumbbells with a double overhand grip into a fully locked out position in front of you. Your palms should be facing your body. This is the starting position for the upright row
- A shoulder width grip is recommended for wrist and shoulder safety
- Breathe in and brace your core, keep the back straight, chest up, with eyes focused forward
- Lift the weight straight up toward the chin, leading with the elbows. Keeping the bar path close to the body. Breathe out during the top of the movement. Your arms should reach no higher than parallel with the shoulders
- Pause for one second at the top of the lift
- Return the weight to the starting position
8. SOTTS PRESS
Benefits of the Sotts Press
The Sotts press is a great exercise for building stability in the bottom position of the snatch, and for building shoulder strength and mobility in a unique way.
If your upper back muscles are weak or immobile then their instability will be highlighted using this exercise. In order to perform this lift, the athlete will execute a press from the bottom position of a squat.
This exercise will be much more common for Olympic weightlifters and functional fitness athletes. However, if you have never tried it before I would highly recommend it. It is hard to do properly and it will humble any athlete that is new to the movement because it requires pure strength.
Both of these points are exactly why it is so effective at building mobility, strength and muscle.
How to do the Sotts Press
Grab your barbell or PVC pipe and hold it in the front rack position.
Lower yourself into the bottom of your squat. This depth will be different for everyone but the important factor is that you should be able to hold tension wherever your “bottom” is. This position should be active and difficult to hold
Brace your core and entire body then press the barbell overhead while holding yourself with stability in the bottom of your squat (the hole position)
Training Tips for the Sotts Press
The Sotts press can be performed with the barbell behind or in front of the head.
You can also use both clean and snatch grips.
This exercise can be loaded fairly heavy as long as it is being done safely. It can also be used as an effective warm up or cool down.
9. Z PRESS
Benefits of the Z Press
The Z Press will enhance your shoulder, core and upper body strength, hip flexor mobility, hamstring flexibility and lumbar and thoracic spine health.
Because it is performed from a seated position on the floor, you have nothing to push your feet or back against to generate power. This makes it a tough exercise that revels weaknesses in both strength and mobility.
I would recommend using dumbbells or kettlebells first for this exercise if you are trying the Z press for the first time. A barbell can also be used.
How to do the Z Press
- Find your base: create a strong base to press from on the floor by sitting with straight legs, an upright torso, and heels grounded/dug into the floor.
- Press: Similar to the overhead dumbbell press, the Z Press requires the upper back to be fully engaged when pressing.
- The elbows should remain under the wrists in the press
- Fully extend and lock out the arms. Punch your head through the “keyhole” (the space between your arms) at the top
- Lockout and Descend: Bring down the press in a controlled manner that allows the core to remain upright through the whole range of motion
Training Tips for the Z Press
Struggling to get in position? Spend 5-10 extra minutes stretching and opening the hip before performing the Z Press even if you already feel warmed-up.
If you find that you’re wavering and losing balance during the descend, then try to slow your tempo, as this can help clean up the bar path.
The body will more than likely want to press with the weight slightly in front of it to build better balance, but this should be resisted by maintaining core tightness. If you’re falling forwards or backwards during the Z Press, then more than likely your bar path may be messed up.
For those experiencing this, try working your mobility more with longer warm-ups.
Don’t lean back during tough reps. If you can’t stay straight as an arrow, your set is done.
Maintain an upright posture. Don’t slouch.
Keep the heels and backs of the knees glued to the floor. Try not to move them.
10. PUSH PRESS
Benefits of the Push Press
The push press is an overhead press variation in which the barbell is pushed upward with assistance from the legs and core. This extra “push” helps the weight travel through the sticking point of a strict press.
The push press is often performed as part of barbell complexes. It is also a great exercise to train power for all types of athletics, or as a powerful shoulder exercise.
- Builds full body power, strength, and coordination
- Allows you to lift heavier weight overhead than with a strict press
- Works for both low reps and moderate to high reps (more commonly found in functional fitness and CrossFit® workouts
- Great full body move with an emphasis on the shoulders
How to do the Push Press
- Secure the bar in the front rack position with the feet approximately hip-width apart
- Turn the toes turned out slightly
- Keep the weight balanced on the heels while maintaining full foot contact with the floor
- Bend slightly at the knees only, keeping the trunk vertical
- Transition immediately at the bottom of this dip and drive aggressively with the legs against the floor to accelerate the barbell upward.
- As you finish the full extension of the legs, begin pushing against the bar with the arms, keeping the knees straight and immediately dropping back to having both flat feet flat on the floor
- Ensure that the head moves backwards out of the way of the barbell as it rises up in a vertical barpath
- Punch your head through the “keyhole” and push the bar into a fully locked overhead position
Push Press Training Tips
As the bar leaves the shoulders, spread the elbows to move them under the bar as soon as possible.
Make sure to inhale and brace your entire body before you begin the movement.
Confidence is key when it comes to the push press. You need to concentrate on exploding upwards and firing the barbell upwards with all your might.
To develop your push press properly, try testing your skills in these punishing Ground to Overhead workouts.
11. SHOULDER EXERCISES – DEVIL PRESS
Benefits of the Devil Press
The Devil Press is a movement that features two dumbbells, and is essentially a combination of a dumbbell burpee and a double dumbbell snatch. They are not common in relation to other shoulder exercises.
The Devil Press is a great way to build shoulder mobility, strength and conditioning within a wider, full body movement. The Devil Press is also a handy conditioning tool, and can be used in higher repetitions to work shoulder strength effectively through various different fatigued conditions.
How to do the Devil Press
The following steps are taken from the movement standards at WODAPALOOZA, one of the biggest CrossFit Sanctionals® events in the world. The athletes must adhere to the following steps or be no repped.
Athletes will start each repetition with the dumbbells on the ground. Then, with the athlete’s hands on the dumbbell, they’ll perform a burpee, with chest making contact with the floor.
From here, the athlete will jump to their feet, never taking their hands from the dumbbells.
Next, the athlete shall snatch or swing both dumbbells from the floor simultaneously, and finish with both locked out overhead, with hips, knees, shoulders, and arms at full extension. This shall indicate a completed repetition.
Please note, the athlete may “swing” the dumbbells between their legs to help to build momentum to get them overhead, but the athlete may NOT pause at the shoulders and press the dumbbells.
Devil Press Training Tips
Start light with this movement because it is demanding.
Use lighter dumbbells and longer sets if you want to build shoulder, engine and full body conditioning.
Use heavier dumbbells and shorter sets if you want to build strength.
If you like this movement, try Man Makers, a similarly brutal but highly effective exercise.
12. SINGLE ARM OVERHEAD DUMBBELL SQUAT
Benefits of the Single Arm Overhead Dumbbell Squat
The overhead squat is unsurpassed in developing midline control, stability, and balance. It trains for efficient transfer of energy from large to small body parts, demands and develops functional flexibility, and similarly develops the squat by amplifying and cruelly punishing faults in squat.
In a similar fashion to the barbell overhead squat described above, the single arm overhead dumbbell squat is an excellent way to improve your core, shoulder and arm strength and improve your balance and coordination.
This is a great exercise to use to expose weaknesses in your shoulder mobility and strength.
How to do the Single Arm Overhead Dumbbell Squat
- Stand on feet with shoulder-width apart
- Shoulder pushes up into the dumbbell
- Armpit of overhead arm faces forward
- Hips descend back and down, lower than the knees
- Lumbar curve maintained
- Knees in line with toes
- Heels down
- Dumbbell stays over the middle of both feet
- Complete at full hip and knee extension
Single Arm Overhead Dumbbell Squat Training Tips
Using just one arm will force you to resist against the tendency of the body to rotate to one side to compensate as you move through the full range of motion. Instead, switch your core on and work to keep the hips squared to the front in this movement.
Grip the dumbbell as hard as you can and concentrate on keeping your body braced as tightly as you can.
13. SHOULDER EXERCISES – HANDSTAND PUSH UPS
Benefits of Handstand Push Ups
Handstand push ups develop and strength the shoulder, back, arm, and chest muscles. In comparison to many other shoulder exercises, they are an advanced movement.
During the exercise the deltoids in the shoulder musculature, the pectoral muscles (pectoralis major and pectoralis minor) and the main back muscles (back extensor, trapezius, latissimus dorsi and some smaller muscles) do the bulk of the work. Not to mention the enormous force exerted by the triceps, the arm extensor.
This exercise will make your shoulders stronger and more stable, whilst testing and developing your strength and balance in a completely new inverted context.
How to do Handstand Push Ups
- Hand placement: place hands about 6-12 inches away from the wall and slightly wider than shoulder width apart. Make sure palms are facing forward, or slightly turned out 5-10 degrees
- Kick up into a handstand, with your heels touching the wall. If you have trouble kicking up into the handstand, try practicing the donkey kick drill
- Once you have kicked up, establish a strong, rigid midline position
- While maintaining this position, lower yourself until the top of your head touches the floor/mat. Try to keep your elbows at a 45-degree angle as you lower
- Once your head touches the floor, press up with the same tightness you had lowering yourself, until your elbows reach full extension
Handstand Push Ups Training Tips
Check out the video below for great tips and drills from Kristi Eramo that will help you build up to full Handstand Push Up.
Maintain a tight, braced midline/core throughout the movement.
14. SHOULDER EXERCISES – REVERSE MACHINE FLYES
Benefits of Reverse Machine Flyes
- Adds size and strength to the posterior deltoids
- Easy to learn and master the technique
- Helps develop bigger, more balanced, and healthier shoulders
- Great burnout movement on shoulder day
- Works the rhomboids and lower and middle traps
How to do Reverse Machine Flyes
- Face the fly machine while seated with your chest against the pad and the handles positioned in front of your torso.
- Reach forward and grasp each handle with a pronated or neutral grip.
- Contract the rear delts while keeping the elbows bent and open the arms in a reverse fly motion.
- Slowly lower the handles back to the starting position and repeat for the desired number of repetitions.
Machine Reverse Fly Training Tips
Ensure the movement comes entirely from the upper arm moving in the shoulder socket rather than scapular retraction.
The shoulder blades shouldn’t move drastically – there may be some end range retraction but nothing drastic.
Don’t allow the head to jut forward as the arms open.
15. REVERSE CABLE CROSSOVER
Benefits of the Reverse Cable Crossover
Like many other shoulder exercises, the Reverse Cable Crossover targets the posterior deltoids, the main muscles on the back of the shoulders.
They also work the muscles of the upper and middle back, particularly the rhomboids and traps.
How to do the Reverse Cable Crossover
- Start with hands crossed in front of you at shoulder height (or just little above) with the left high cable in your right hand, the right in your left hand
- Using your rear delts, pull your elbows out (to the side) and back as far as possible (until your arms are in line with your back)
- Keep arms slightly flexed throughout motion
- Return to the initial position (where your right hand is directly in front of the left shoulder and your left hand in front of the right shoulder) with a controlled movement and begin again
- Repeat for prescribed number of repetitions
Training Tips for the Reverse Cable Crossover
Try to keep your torso upright, don’t lean too far forward or back.
To target the posterior (rear) deltoid, your arms should move directly back (and downward slightly) almost parallel to the floor. If the hands are raised through a higher arc to a point above shoulder level, the lateral deltoid and trapezius make a bigger contribution to the movement.
Movement path: your torso, hips, and legs remain stationary while your arms move in a horizontal, 90-degree arc from the front of your body out to both sides.
Avoid bending your elbows, shrugging your shoulders, and changing the plane of your arm movement.
SHOULDER EXERCISES
These shoulder exercises are all designed to improve your shoulder strength, mobility and conditioning in many different ways. You can use them to build muscle or to strengthen other aspects of your fitness such as Olympic weightlifting.
Strong shoulders are a huge asset to your overall health and physicality. Whether you are outside climbing, kayaking or taking part in your next OCR race or hitting workouts hard in the gym, they will help you across a wide range of different sports and situations.
Now you know what exercises will help you develop stronger, better shoulders, why not expand your knowledge with these back and tricep exercises.

Comments are closed.